2026-10-29
AI Video From Photo: The Complete Guide
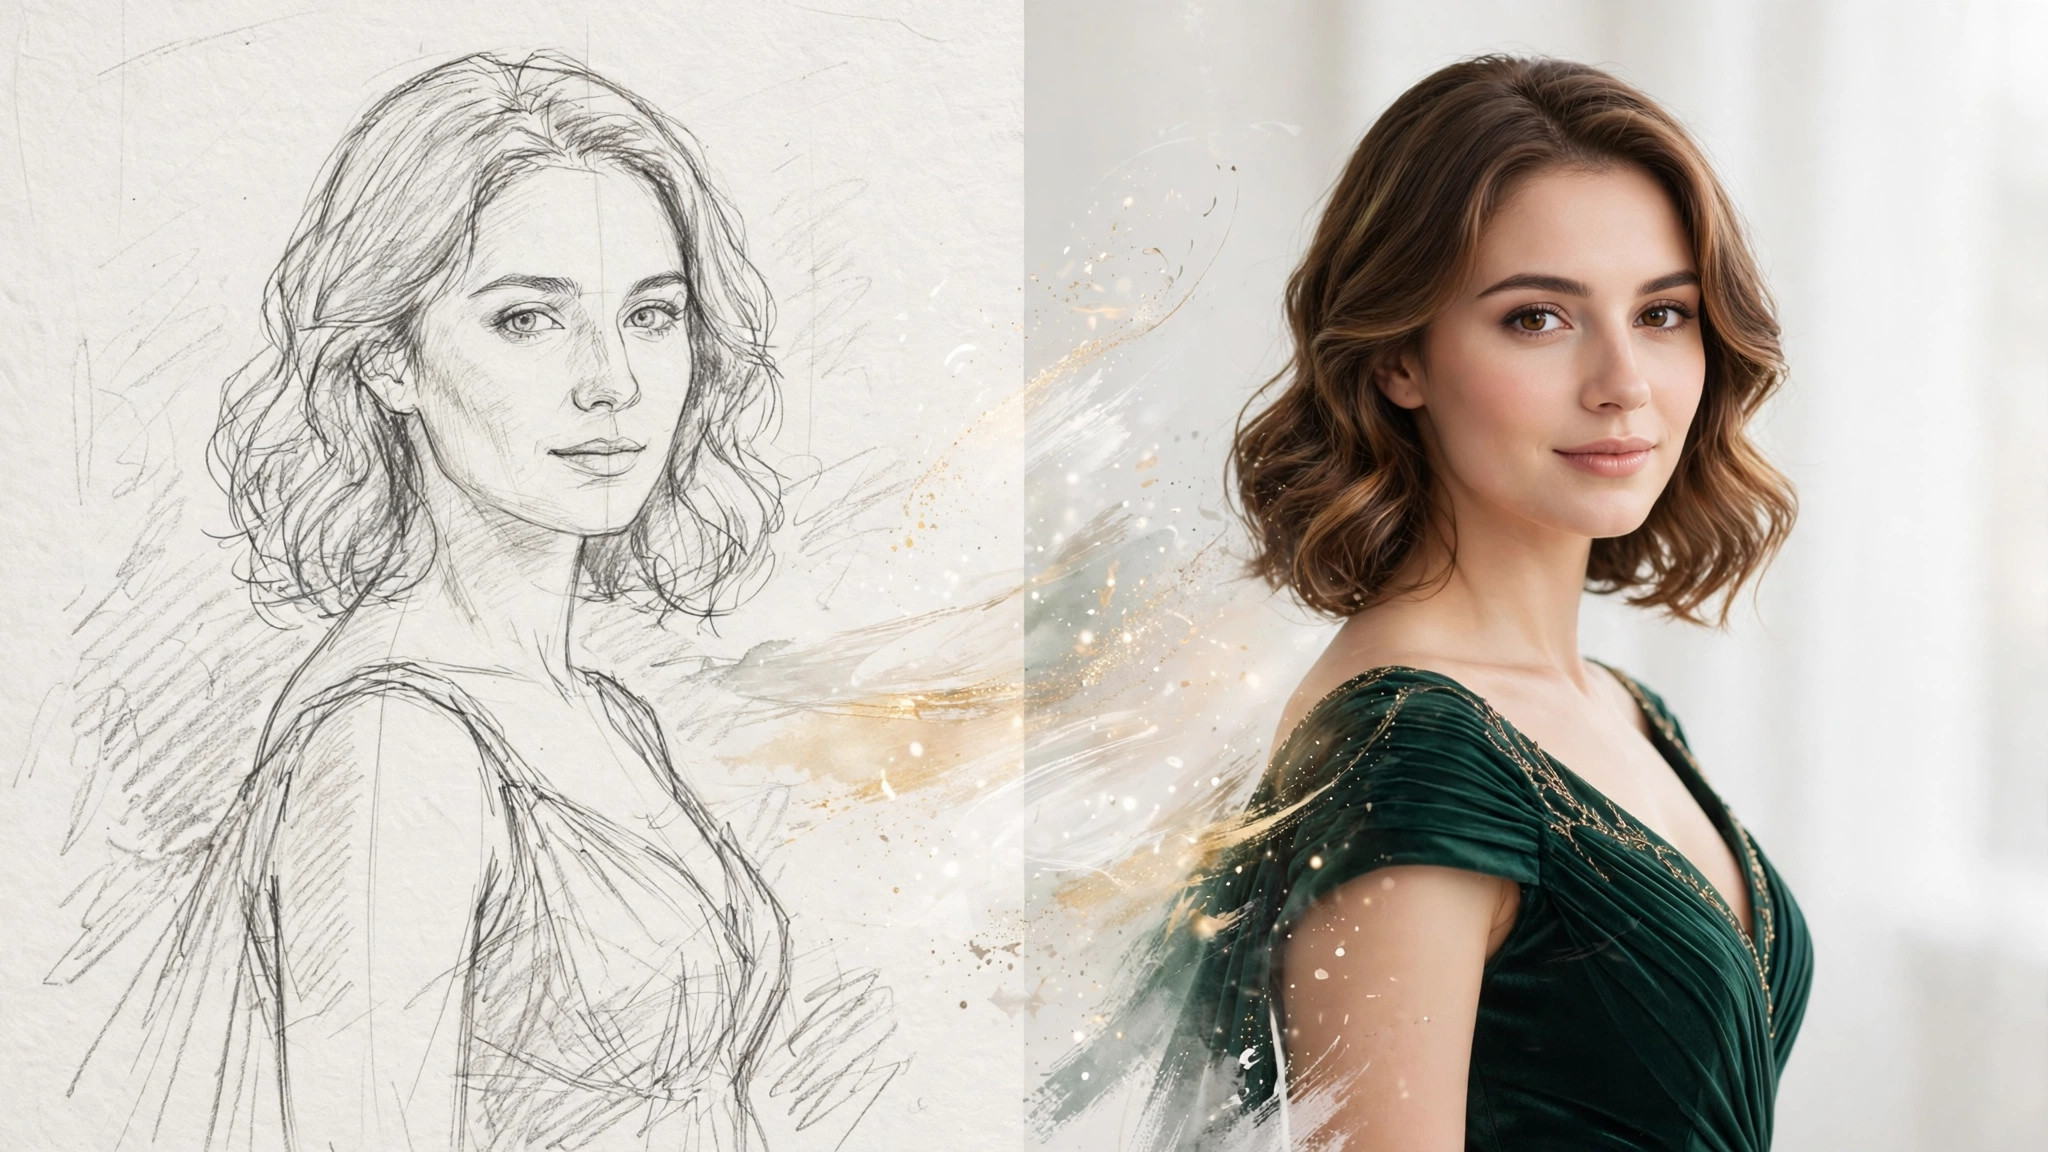
How Photo-to-Video Actually Works
Image-to-video is the most practical entry point into AI video generation. Instead of describing an entire scene from nothing, you hand the model a photograph and ask it to imagine the next few seconds. The photo locks in the composition, the subject, the lighting, and the style; the model's only job is motion. That constraint is why photo-to-video results look dramatically better than text-to-video at the same technology level.
Under the hood, the model does two things. First, it analyzes your image the way an image model would: subjects, depth, lighting, textures. Second, it predicts a short sequence of frames that plausibly follow, guided by your motion prompt. The quality of the output depends on three inputs in roughly this order of importance: the source photo, the motion description, and the generation settings. Most troubleshooting guides start with settings; this one starts with the photo, because that is where most failures originate.
One expectation to set early: the model animates what is in the photo. It does not reimagine it. If your photo is dark, blurry, or awkwardly framed, the video will be a moving version of dark, blurry, and awkwardly framed. Garbage in, motion out.
Choosing the Right Photo: The 80 Percent Rule
Resolution matters, but not the way people think. You do not need a 4K source; most video models work at 720p internally and downscale your input anyway. What you need is a clean, sharp image at a reasonable size — 1024 pixels on the long edge is plenty. A sharp 1024px photo beats a blurry 4K photo every time.
Framing is the real lever. The model can only animate what it can see, so subjects should be fully in frame with breathing room around them. Tight crops that cut off limbs or the top of the head force the model to invent missing body parts in motion, which is a leading cause of anatomical glitches. If you want a close-up video, shoot a close-up photo; do not expect the model to reframe for you.
Faces deserve special rules. A front-facing or three-quarter face, evenly lit and unobstructed, preserves identity dramatically better than a profile, a face in deep shadow, or one partially covered by hair or hands. The model tracks facial features across frames by matching what it sees; give it a clear reference and drift drops sharply.
Lighting in the source photo sets the ceiling for the video. Even, soft lighting gives the model clean information about shapes and textures. Harsh contrast, heavy filters, or extreme color grading in the source get amplified in motion, not smoothed out. When in doubt, pick the most naturally lit version of the shot you have.
Settings That Matter: Duration, Ratio, Motion
Duration is the first setting to decide, and shorter is smarter while you are learning. Five seconds is the standard test length: long enough to evaluate whether the motion looks natural, short enough to keep iteration cheap. Only extend to eight or ten seconds once the five-second version is solid, because longer generations multiply both cost and the chance of mid-clip degradation.
Aspect ratio should match your source photo, not your target platform. If your photo is portrait 9:16 and you request 16:9 video, the model must crop or stretch, and both damage quality. Match the ratio to the photo first; reframe for platforms afterward with standard editing tools.
Motion strength (sometimes called motion intensity or dynamics) controls how much moves. Low values produce subtle, almost still-image results — safe but boring. High values produce dramatic motion — exciting but prone to warping and identity drift. Start in the middle, and adjust based on what you see: if the video feels frozen, raise it; if faces start melting, lower it.
Seed and fixed settings matter more for video than for images. When you find a combination that works, lock the seed before iterating on the prompt. Changing the motion description while the seed drifts means you never learn which change caused which effect — the same one-variable discipline as prompt iteration for stills.
Prompting Motion: Verbs, Not Nouns
The motion prompt is a different skill from image prompting. Where an image prompt describes a static scene, a motion prompt describes change over time. The model needs verbs, directions, and pacing — not just nouns.
Lead with the primary motion. "She slowly turns her head toward the camera" beats "beautiful woman, cinematic" because it tells the model what actually moves. One clear primary motion outperforms three competing ones; if everything moves, nothing reads as intentional.
Add secondary motion for realism. Hair swaying slightly, fabric shifting, background elements drifting — these small secondary motions are what separate "animated photo" from "video." Describe them briefly: "her hair moves gently in the breeze" is enough. The model fills in the physics.
Specify what should stay still. "Camera remains static" or "locked-off shot" prevents the nauseating slow zoom the model sometimes adds uninvited. If you do want camera movement, name it explicitly ("slow push-in") rather than letting the model improvise.
Keep motion prompts short — two to three sentences. Long, ornate motion descriptions dilute the core instruction the same way overlong image prompts do. Subject, primary motion, secondary motion, camera behavior. That is the whole formula.
Common Failures and How to Fix Them
Identity drift — the face changing across frames — is the most reported failure. Causes, in order: unclear face in the source photo, excessive motion strength, and long duration. Fix in that order: better source photo first, then lower motion, then shorter clip. Do not try to fix drift with prompt words alone; it is a data problem, not a language problem.
Frozen or near-static output usually means the motion prompt was too weak or the motion strength too low. Strengthen both and regenerate. If the model still barely moves, the source photo may lack depth cues (very flat lighting, plain backgrounds give the model little to work with).
Warping and melting — limbs bending impossibly, backgrounds smearing — comes from motion strength set too high relative to what the scene supports. Complex poses and busy backgrounds tolerate less motion than simple ones. Lower the strength or simplify: pick a calmer source photo.
Flickering and texture crawling happen most in longer clips and usually start mid-generation. The practical fix is shorter duration; the five-second version of a clip that flickers at ten seconds is often perfectly clean. Treat duration as a quality control, not just a creative choice.
Anatomy glitches (extra fingers appearing mid-motion, faces distorting on turns) are the video equivalent of the still-image hand problem, amplified because the model must maintain anatomy across frames. Minimize by keeping the source framing generous, avoiding extreme poses, and keeping motion moderate. Some glitch rate is inherent to current technology; budget for re-rolls.
The Pre-Flight Checklist (Save Your Credits)
Before every generation, run this checklist. Source photo: sharp, well-lit, subject fully in frame, face clear if identity matters. Aspect ratio: matches the photo. Duration: five seconds for tests. Motion strength: middle to start. Motion prompt: one primary motion, one secondary, camera behavior specified. Seed: locked once you find settings you like.
After generation, evaluate in this order. First, identity: does the subject still look like the photo? If not, fix the source or lower motion before touching anything else. Second, motion quality: does the movement look physically plausible? Third, artifacts: scan the full clip for warping, flicker, or anatomy breaks, especially in the last two seconds where degradation concentrates.
Keep a simple log: photo used, settings, motion prompt, seed, and a one-line verdict. After twenty generations you will have a personal playbook — which motion strengths work for portraits versus full-body shots, which of your cameras' photos animate best, how your platform's model handles hair and fabric. That playbook is worth more than any guide, because it is tuned to your inputs.
And the meta-rule: iterate cheap. Test at five seconds, low cost, fast turnaround. Only spend the long expensive generation once the cheap version proves the concept. Most wasted credits in AI video come from generating ten-second clips of untested ideas.